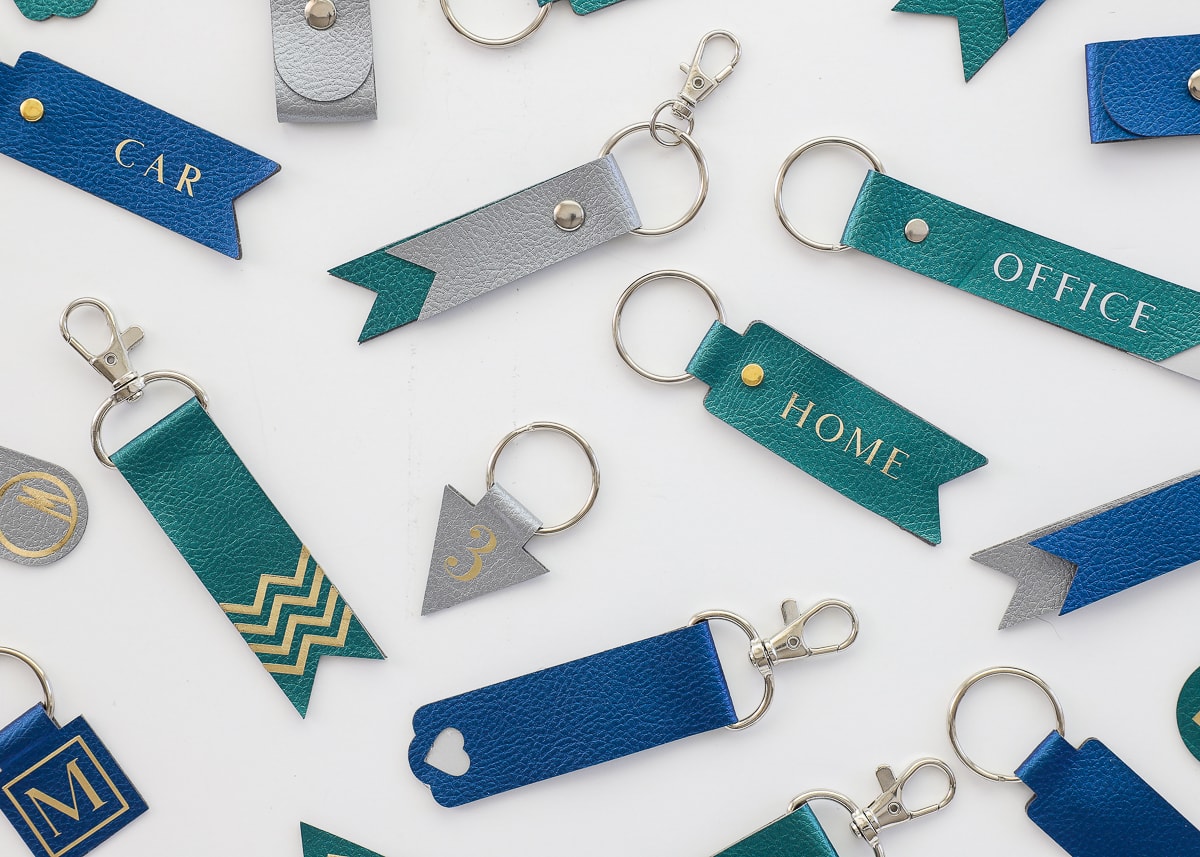
Knowing how to make keychains with cricut is not that hard. You’re probably a keychain hoarder. There’s something about those little accessories that are just so fun and easy to collect. Whether you have a bunch in your desk drawer or on lanyards around your neck, these tiny tokens of gratitude make great gifts for friends, family members, and coworkers.
How about making some with your Cricut instead? With the help of the amazing personalization features from the Cricut Maker software and a few crafty techniques, you can make keychains with cricut that are perfect as gifts, party favors, or even employee recognition gifts for work milestones.
Here’s a step-by-step tutorial on how to make personalized keychains with your Cricut.
What You’ll Need to Make Personalized Keychains
There are a few things you should have on hand before you start making keychains with cricut. You’ll need a Cricut Maker (or Pro) machine, a cutting mat, the Cricut Design Space software, and a couple of tools.
The Design Space is the software that you’ll use to create your design and then choose settings for your cut. You’ll also need a pen, paper, and maybe a gridded ruler if you want a really precise image. Finally, you’ll need your keychain hardware items.
Step 1: Set Up Your Cricut Design and Tools
First, you’ll want to make sure that you have your Design Space set up properly. Create a new project, give it a title, and select your material type.
You’ll want to choose a photo that you’ll be able to crop properly to make the design the right size, so something like a landscape photo is best. You can also use clip art if you want to make something like a monogram or a letter.
Next, you’ll want to set up your tools and grid. The grid will be helpful when you’re lining up your elements, and the tools will be necessary for creating your design. Make sure you have the correct pen selected for the grid lines, and a few pens for drawing your design and text.
Step 2: Find a Good Photo for Your Design
Since you’ll be cropping your image down to size, you’ll want to pick an image that has plenty of space on all sides. Anything too intricate or small will be difficult to cut out without losing some of the details. Try picking a landscape photo with plenty of sky so that you can cut it down to size and still have enough room to work with.
Alternatively, you can go with a monogram or letter design. This is a great option if you want something simple that won’t take a ton of time to create. You can even use clip art if you like, but make sure to pick something that will stand out well against the black background you’ll be cutting on. Try to avoid anything that has a lot of fine lines or intricate details.
Step 3: Cutting Out the Shapes
First, you’ll want to load your photo or clip art into the Design Space and make sure it’s scaled correctly. For example, if your piece is a 5” by 7” photo and you want it to be 2” by 2” on your keychain, you’ll scale it down by 40% (5” x 0.4 = 2”; 7” x 0.4 = 2”).
Next, you’ll want to load your mat and select the Cricut Explore or Cricut Maker tool. Then, you can use the tool to draw the outline of your design on the photo, and the machine will cut it out for you.
For monograms or letters, you can just draw the shape with your tool and the machine will cut it out for you. For other designs, you’ll want to take a picture of the machine cutting out the shape so you can easily piece it all together in Design Space.
Step 4: Assembling the Keychain
Once you’ve got all of your pieces cut out, the assembly process is pretty simple. Start by flipping one piece over and folding the top edge down about 1/16”.
Then, take the matching piece and fold the top edge down about 1/16”, too. Line the edges up so that they’re aligned and then use a couple of brads to hold them together. Repeat this process with all of the remaining pieces. You can also use a small piece of double-sided tape on the edges to keep them from fraying.
Once you have the pieces all assembled attach the hardware by putting the keychain closed and then sliding the pieces through the loop and the swivel. You can attach the keyring by putting the closed loop through the swivel and then putting the ring through the loop.
Conclusion
Once you’ve finished making your keychains, you can use the Design Space to print out your designs on iron-on transfer paper.
Then, you can use an iron to iron the designs on to the keychain pieces. You can add a bit of fray check to the edges if you want to keep them from fraying. There are plenty of other ways to customize your keychains, too.
You can use embroidery floss to stitch words or designs onto your keychains, or you can use puff paint or glitter to add a little bit of extra sparkle. No matter how you personalize your keychains, they make great gifts for friends, family members, and coworkers.